6 Awesome Insta-Worthy Classroom Activities

As all teachers know, it is a long school year. Over the course of 180 school days, there are bound to be point where both you as a teacher, and the students, are burned out, bored, or just otherwise not excited about the curriculum.
It’s at points of the year like that where I try to infuse something different or fun to break our class out of that monotony and infuse some much needed life into the classroom. At first, I tried just taking the class outside or just some fun activities. However, I’ve since developed a variety of engaging ways to bring a little spice to whatever lesson we need to cover.
I was inspired by the rise of the “Insta-worthy” museum to bring these together and share with you here. Insta-worthy museums and exhibits cater to the visual appeal of Instagram and people wanting to document their experiences. In the same way, students are drawn to these same kinds of experiences and I’ve often seen kids snapping pictures when we do these lessons.
These are not the kind of activities you’re going to do everyday. However, each of these 6 insta-worthy classroom activities is something that you can use at various points in the year to bring some energy to your lessons and keep students engaged.
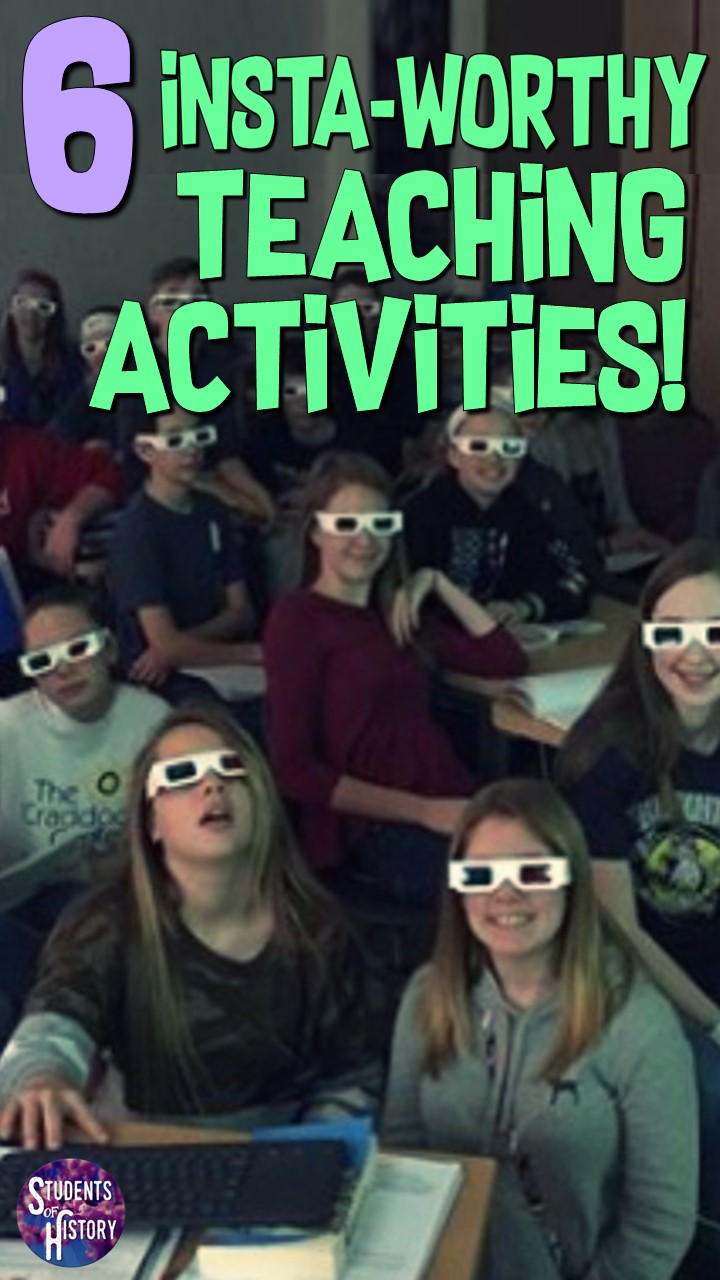
1) 3D Image Tours
When I saw my first 3D movie as a kid, I remember being so excited just to wear the 3D glasses. The excitement of the experience was almost better than the actual 3D. You can recreate that same kind of excitement in your classes by embedding a bunch of 3D images into a lesson!

First, you just need to purchase a class set of red/cyan anaglyph 3D glasses. Cheap cardboard sets can easily be found on Amazon or eBay. I like the sets of 50 so that they can last all year with me collecting them from each period after we use them.
Then, take a regular PowerPoint lesson you might have and replace as many of the images you have in there with anaglyph 3D images. There’s a couple ways you can go about this.
First is to use Photoshop to convert any of your images to 3D. This is a blog post on how to do that. This is great if you have specific images that you need to show. I’ve done it for bunch of mine tough and it is a bit of a cumbersome process to create all of the images.
An easy way is to use 3D images that have already been taken by others. There is a massive collection of 80,000+ anaglyph images here on Flickr. Some are copyrighted and can’t be downloaded, some are but can be downloaded, and others are rights-free. You can see each image’s designation on the page.
You can certainly find a bunch that are usable for almost any lesson you can think of. As long as it somewhat connects to your topic, you can paste an image into your presentation and make it really fun to go through.

I pass out the 3D glasses when kids walk in the door and they’re immediately excited about what we’re going to do that day. I have a bunch of 3D lessons I’ve created you can check out here:
2) Pop-up Figure Notes
Another really fun activity if you need to cover a bunch of people is to have students create pop-up notes of the people as you take notes.
These are pretty easy to create with either clip art or pictures of the people. I like either way but will edit them so that the heads are larger than the bodies - like a bobblehead doll. Then, I organize the cut-outs onto a sheet of paper and will often include a graphic organizer that the pop-ups get pasted onto.

A great lesson with these is my Rise of Dictators pop up notes. This includes cutout pop-ups for each of the dictators who rose to power before World War 2. Students cut each out and paste it onto a world map in their notebooks. Then we go over each one and the kids take notes on each figure next to the pop-up.
You might think it’s a waste of time to do all the cutting and pasting, but it’s actually a great way to keep kids focused. We’re not quietly waiting for each kid to cut out their pop-up and paste it into their notebooks. As kids are cutting, I’m talking about each one and asking students questions.
The act of cutting and pasting actually keeps kids focused on something so they can listen better to what we’re talking about. This is a fantastic way to actually keep kids attention and increase comprehension!
Other pop-up lessons I have are on the Constitutional Convention, Europe’s Absolute Monarchs, political leaders of the Cold War, and people from the Civil War.

3) Interactive Tableaus
A great way to get students really engaged is to make your lessons interactive with tableaus. A tableau is a group pose that students hold to recreate a scene or event.
I will place students into groups of 4-5 (smaller or larger can work depending on the events and scenes you are covering). Students in the groups receive a short reading or are assigned an event to research and then create their tableau. You can include an image to assist students or just have them base their tableau on a description.
I allow about 10 minutes for groups to plan their scene then each group “performs” it for 30 seconds. As the groups hold their poses, the other groups have to interpret what is going on. They can guess the event, analyze what those posing might be doing, and predict what people might be feeling.
This is a really fun activity and kids definitely enjoy the posing. It’s good also because it is something where kids get up in front of the class, but they are protected from embarrassment. Everyone is just holding still and they have 10 minutes to prepare together, so even the shyest students can take part in the “performance”.
4) Magic Portraits
Sometimes you have to cover a lot of different people in a lesson and the topic is pretty dry. Enlightenment philosophers is a great example. Students need to know Locke, Rousseau, Montesquieu, Voltaire, etc. A great way to make this kind of lesson more engaging is with “magic portrait” videos.
These are moving, video portraits that you can create out of any person’s image that help bring them “alive” in your presentation. They’re especially great for bringing to life historical figures from a long time ago and help students connect & remember important faces.

There are a few different ways you can create them First is to find regular portraits, paintings, or pictures of the people you need to cover. Then, you import them into one of two apps to make them come alive.
The first is the Muglife App for iPad or iPhone. This one is very simple to use and can be totally free to export saved portraits that you create. You can also search for ones people have already created and save those. There is a paid option to make the videos more custom or use additional features.
The other option is to use CrazyTalk. This is a desktop program which costs money but does have a free trial download. CrazyTalk allows you to use a lot of different features and really make your portraits come alive. They can blink, smile, act shocked, laugh, or almost any other facial expression you wish.

Kids really get a kick out of these when they’re inserted into an otherwise traditional PowerPoint. I’ve found they also connect better with each person and will remember them more clearly than with a regular image. Plus they’re just fun to look at!
You can check out all the magic portrait lessons I have created here.
5) Crime Scene Investigations
If you're teaching history, you definitely want to be using primary sources. However, analyzing primary sources can be a little dry after awhile. A cool insta-worthy way to spice them up is to turn it into a CSI crime scene investigation.

Everyone loves a good murder mystery, so why not turn any set of primary sources into “evidence” that students analyze to come to a conclusion. Really, anything can be a “crime” to be solved. Some good examples are:
- Who Started of WW1?
- The causes of the Great Depression
- The Trail of Tears
- The Fall of the Roman Empire
Mr Roughton is one of the best at creating these and has a bunch on his site.
You can present the topic/question and gather a set of primary and secondary sources to use as evidence. Then, pick up some inexpensive crime scene tape to make for an engaging, interactive lesson!
6) Green Screening
If you’re looking for a way to have students make really cool projects or presentations, I definitely recommend you try out using a green screen. These allow students to create reports from anywhere (& any time) in the world!
Very affordable green screens are available on Amazon for purchase. These can be hung up in your classroom or out in the hallway to allow students to perform in front of. They can then place that footage on top of any image or video for a really cool special effect.
I have had students create travel reports from each River Valley Civilization, major empires of the world in 1500, and the regions of the American Colonies (New England, Middle, & Southern).
For the videos, students must search for appropriate background pictures, draft a script, record themselves in front of the green screen, and then edit their video. This is super simple if you have iPads with the IMovie app. There’s even a green screen tool right in there. The Do Ink app is another option to make the videos simple.
Thanks for Reading!
If you like all these activity ideas, you can find most all of them plus lesson plans for every day throughout the downloading them in unit or curriculum bundles on TpT or by joining Students of History. There's also videos for each day, PowerPoints with guided notes, games, unit tests, and more!

Want to try some lessons for free?
Try out some free lesson plans and resources for your social studies classroom!
Don't worry, your information is never shared.