6 Strategies for Using Interactive Notebooks
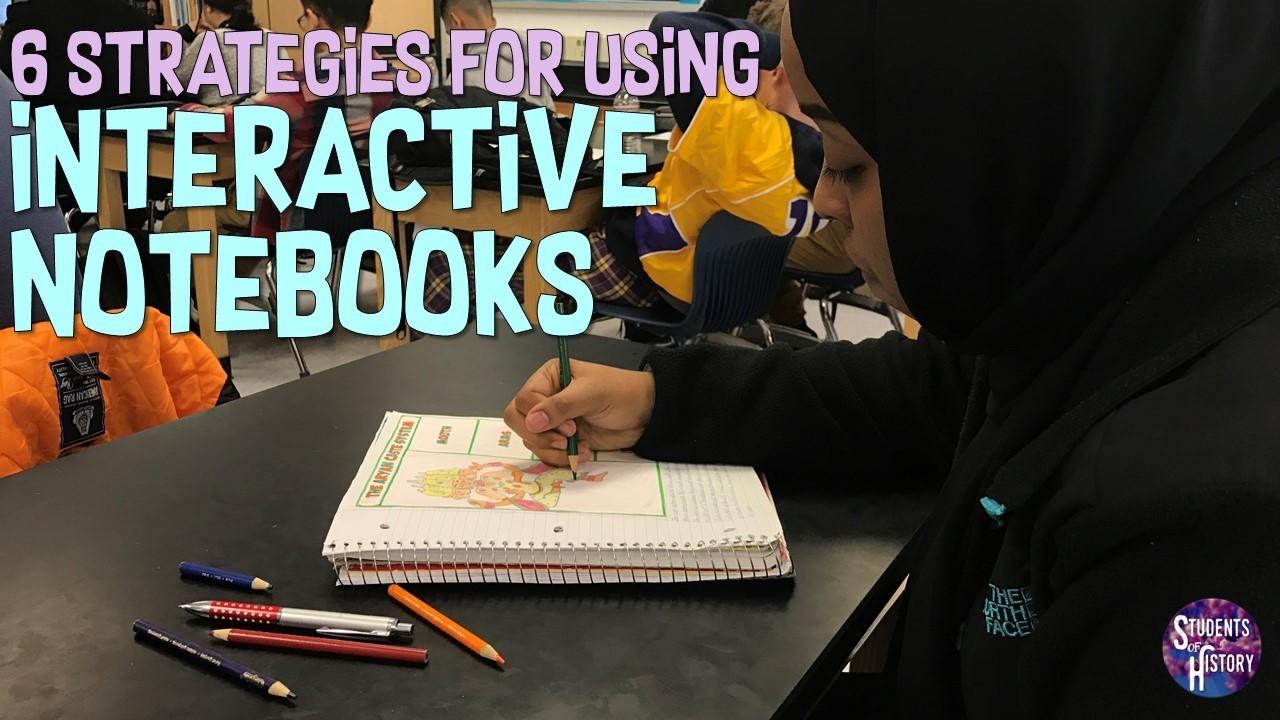
Interactive notebooks are an amazing tool to use in the classroom. The graphic organizers can help students categorize and better understand content. Students also almost always enjoy making them!
The hands-on and creative aspect of interactive notebook pages lend themselves well to fostering student creativity and allowing students to demonstrate their understanding of important concepts. I started using them years ago and gradually made them more detailed and interactive as the years went by.
I use a number of different resources in my classroom, but for years have experimented with different ways of using interactive notebook activities. At first, I would go through them together with students. However, I wanted a more student-centered classroom and sought ways to allow students more freedom to interpret our content. This led me to having students working on the pages either independently or together and then sharing what they created.

However, I still see the benefits of working together with students to create pages that capture the content and help students interpret it. The best pages match the content, effectively organize information, and allow for student creativity.
I have a ton of them that I have created for Civics, World, and US History here so you don’t have to reinvent the wheel. However, I am often asked about the best ways to use them in the classroom. Hence, this blog post!
Here’s 6 great strategies to use interactive notebook style graphic organizers with ...
1) PowerPoints As Guided Notes
This is the simplest and probably most traditional way of using them. You pass out the interactive notebook page to students and go through them together with the PowerPoint presentation notes matching the graphic organizers. I started including these with many of my PowerPoints.
In a sense they're not really “interactive” pages when you do this, because you are giving the students the notes that go on each page. They're more just elaborate cut-and-fold graphic organizers. However, students get the benefit of going through them together with you to assist them.
One question I have had when using them this way is if the cutting and pasting wastes too much class time. I have actually found the opposite. The students have the pages to cut and paste as we’re talking about the content in the presentation. This actually helps them to concentrate better.

As I am sure we have all experienced, our minds tend to drift when listening to a discussion or lecture. The hands-on cutting, gluing, coloring, and note-taking help students focus and listen. You don’t stop and wait for kids to finish cutting. You ask questions, elaborate about important concepts, tell anecdotes and stories to give color to the people and events being discussed.
Students listen, ask questions, and share their thoughts as they work on the pages. In the same way adult coloring books and doodling can help people concentrate, these pages assist students to focus. As a result, you can have longer, more in-depth class discussions during your PowerPoint or Google Slide presentations!
2) Flipped Classroom Videos
This is a great way to make your flipped classroom even more engaging. If you are not familiar, a “flipped classroom” is one in which the traditional lecture portion is done at home and class time is saved for interactive projects in which students process and analyze the content.
Flipping your class is a great way to dive deeper into the content and also provide students a fun homework assignment. I have a bunch of flipped classroom videos available, all with PowerPoints, and guided notes pages as well.
With this strategy, you provide students with the interactive notebook page and then assign them a video link to watch. The video pairs up with the notes page, so students complete it as they watch. Most of mine range between 20-30 minutes, so it’s not an overwhelming homework assignment at all.
You can do a quick check to start class to see if students completed their pages or base the day’s lesson on them so students have to complete it to complete the activity. This can save valuable class time and enable you to get into more analytical thinking, projects, or cooperative learning activities in class.

3) A Textbook Section or Chapter
One of my favorite ways to use interactive notebook pages is to pair them with a section of our textbook. Kids generally hate reading out of the textbook but I really feel that reading is important and try to include some form of a reading activity a couple times a week.
Interactive notebooks allow students some fun and creativity to go with the reading. They definitely enjoy it WAY more than any textbook worksheet. The pages also allow students to demonstrate their understanding and truly make the pages “interactive”.
I will hold up a completed one as an example to show students how they should look when completed. I also provide pictures of completed pages in the notebook sets I share online. I then allow them time to do the reading and work on the pages. I can circulate the room and assist students, explain any tricky concepts from the book, and help them with the folding if they’re ever unsure exactly how to create a page.

4) Webquests or Online Resources
This strategy is very similar To pairing an interactive notebook with the textbook, except hear your pairing it with an online Source or multiple online sources. Oftentimes teachers will use webquests where students use various online sources to complete an activity. If this is a digital activity, it involves students switching from tab to tab constantly between a Google Doc and a source. This can get very tiresome.
The benefit of using a graphic organizer or notebook page here is that your blending the digital with the hands-on. It's a great way to use the best of both worlds. You have everything available on the internet for students to research, but also a fun and engaging foldable-style graphic organizer!

5) Stations Around the Classroom
If you want to page your lesson really engaging, combine a fun foldable-style graphic organizer page with a stations activity that has students moving around the room. I have a whole blog post devoted to stations lesson here if you want to learn more about how to do them.
Basically, students cut, fold, and glue the interactive page into their notebooks. Then, they move through stations you have set up around the classroom to complete the graphic organizer. The stations can feature short readings, political cartoons, photographs, or maps devoted to whichever topic you are covering.
The notebook page should have a section for each station that students can complete in a couple minutes. Students can then move through the stations to complete the notes for each section. It’s a great way to make traditional note-taking much more fun!

6) Partners in the Classroom
Inevitably, you will have some students who love working on these pages and others who don’t. Why not pair students up for an interactive notebook activity that can work to both of their strengths?
After learning which students really do well with the notebooks and which students seem to struggle with the physical aspects of creating the graphic organizers, you can team these students together for an activity.
In this strategy, you can have a reading, textbook, or online source students to read for whichever lesson you are on. Students read the source together and one student cuts/folds/pastes while the other can highlight and decide what notes to include on the page.
This is a great way to differentiate and you can pair struggling learners with those in class who might be best suited to help them understand the material.
That’s all for now! Remember, joining Students of History gives you immediate access to interactive notebooks and lesson plans for every unit in Civics, World, or US History.
Download our free lesson pack and try the resources out for yourself. There’s a few fun interactive notebook pages in there you can try along with digital notebooks, primary sources, and more!


Want to try some lessons for free?
Try out some free lesson plans and resources for your social studies classroom!
Don't worry, your information is never shared.